
(This post contains affiliate links)
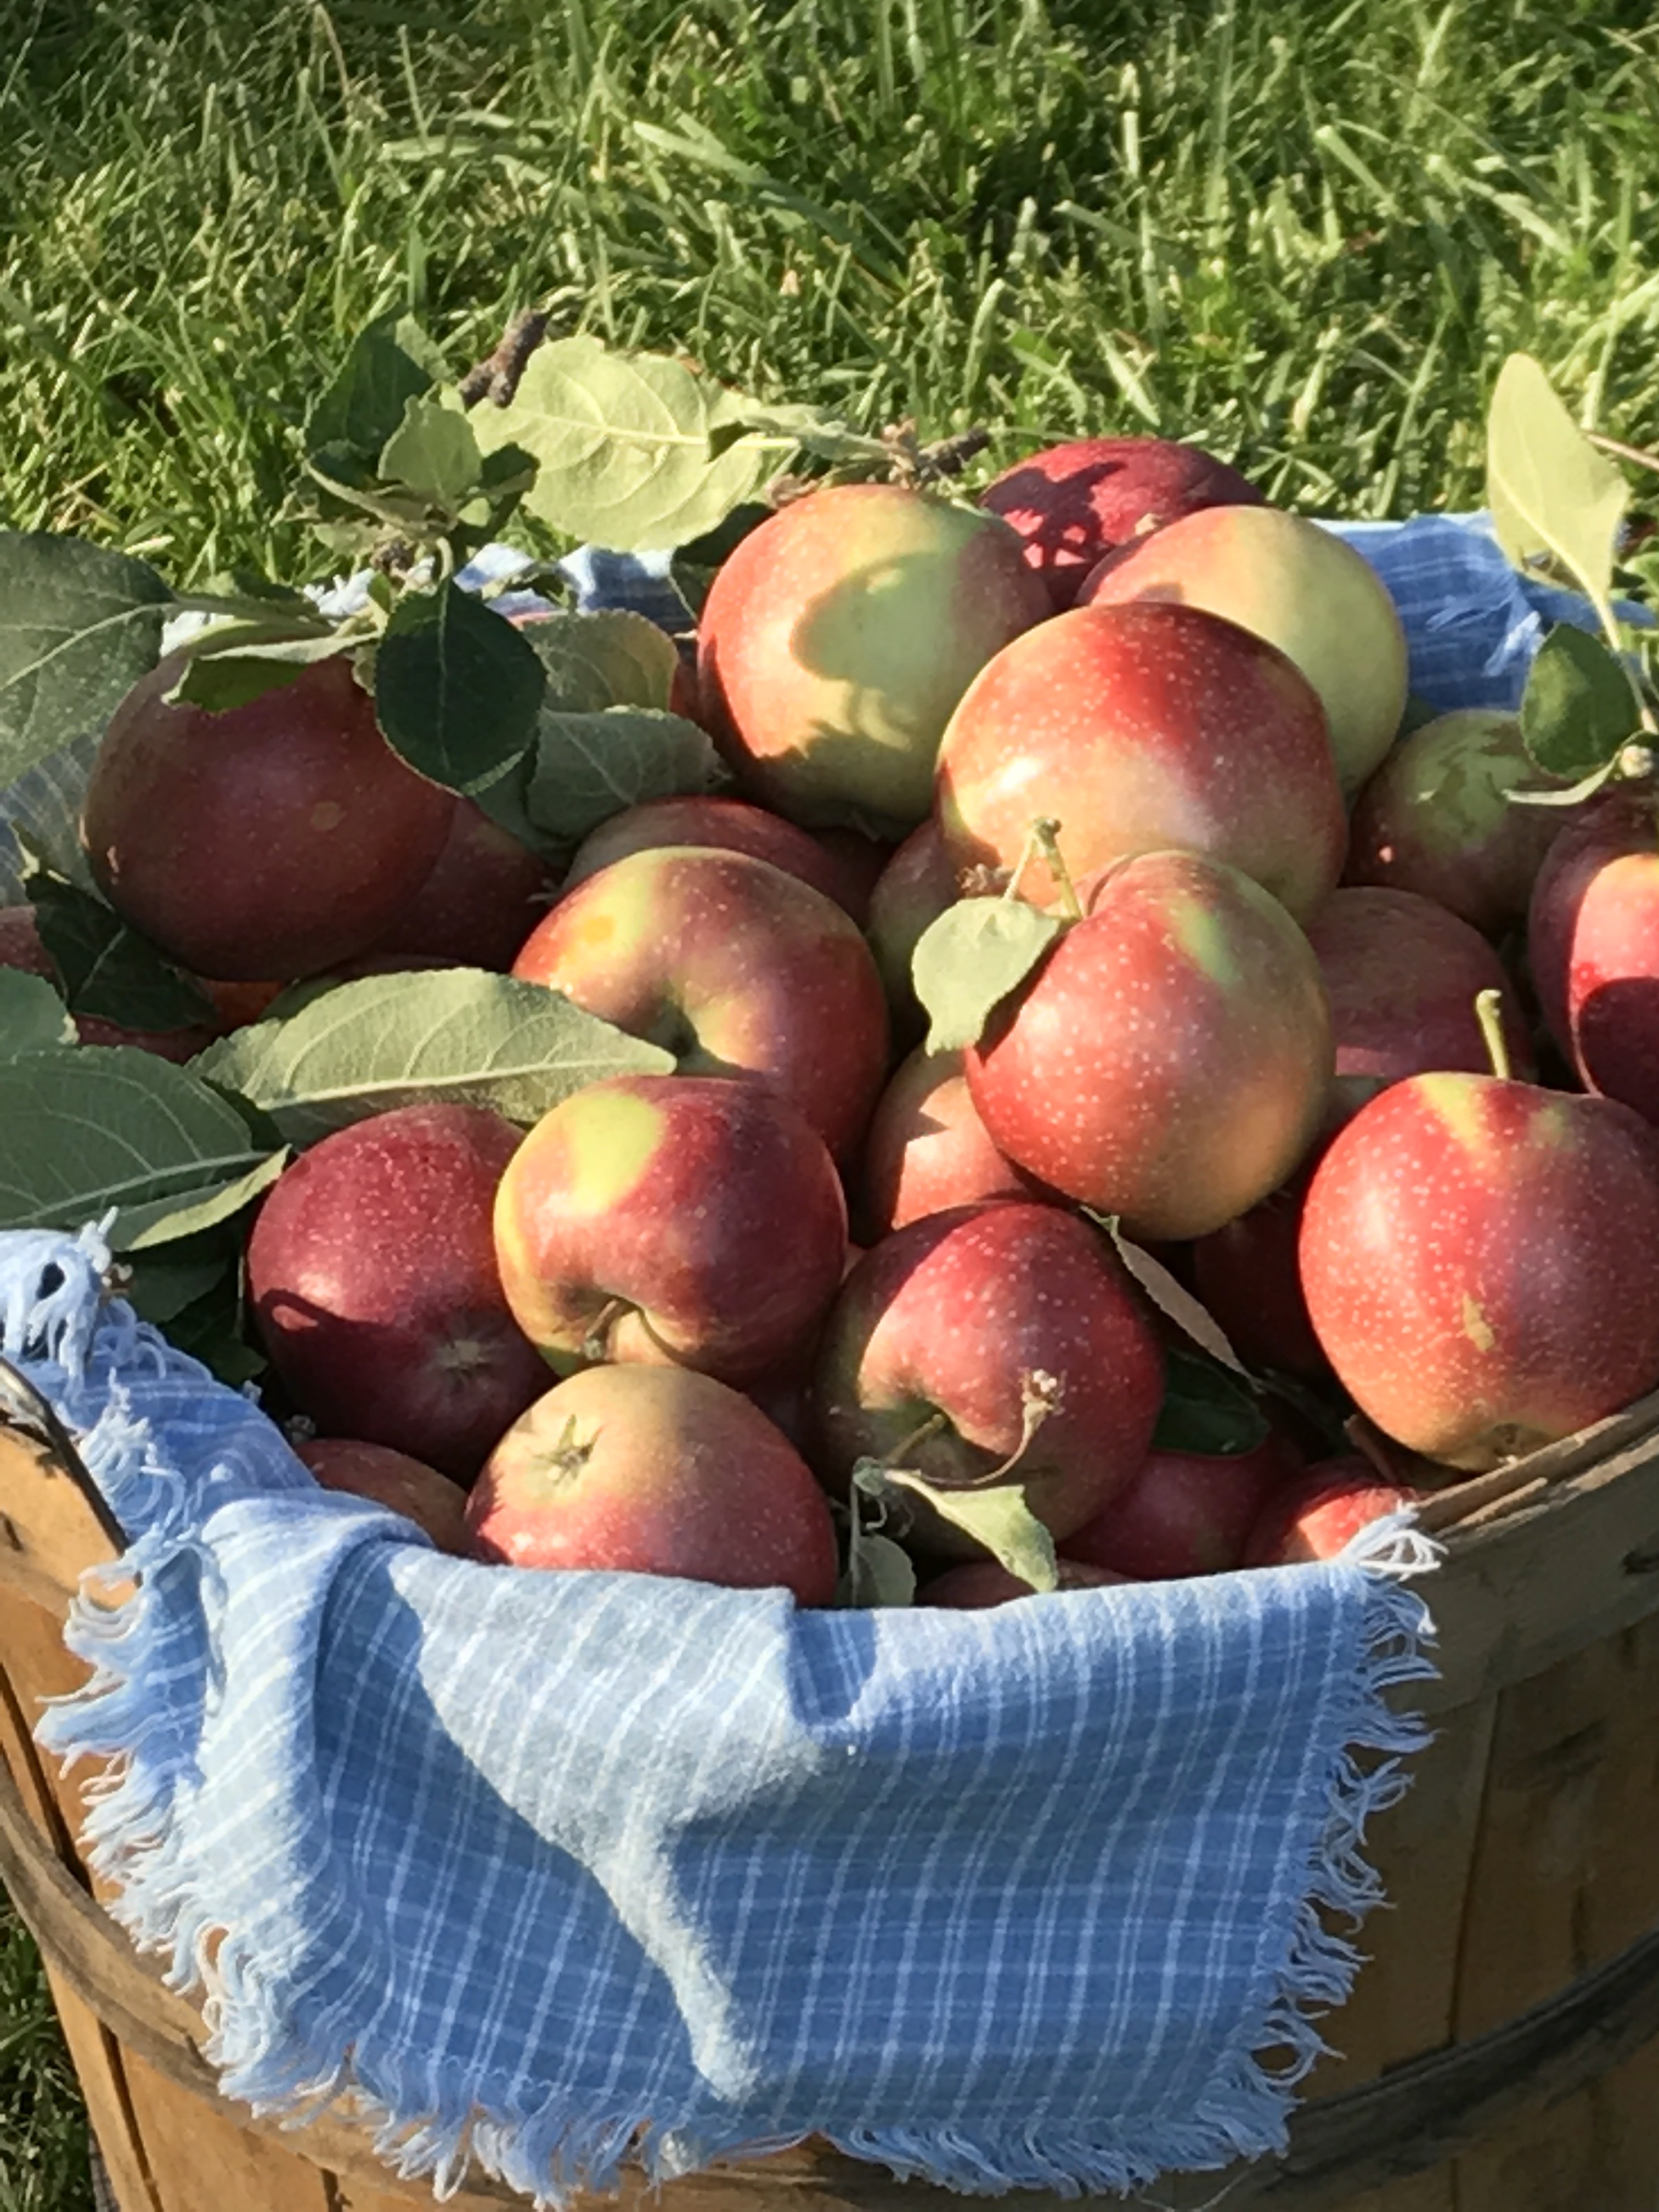
We have a gazillion apples this year! Ahh like soo so many. There are five apple trees from our old house that we rent out and the renters can’t use that many. Like. Around a thousand pounds from those trees. Then our house has an orchard out back with at least 11 producing trees. Yeah. We have lots of apples.

Well my family has always made applesauce. Homemade home canned applesauce. It’s absolutely delicious. And the best part? Our is usually pink! How fun is it to eat pink applesauce. And we can over 100 quarts almost every other year. (The producing years for the trees)
Applesauce
So here’s our secret. Hand peeling, coring, mashing just won’t cut it at this volume. And it’s an investment well worth it if you do very many at all… but it’s called a Victorio strainer. It mushed the apples and separates skin and seed. Amazing you Say??? Pretty much. But that’s not all there is too it.
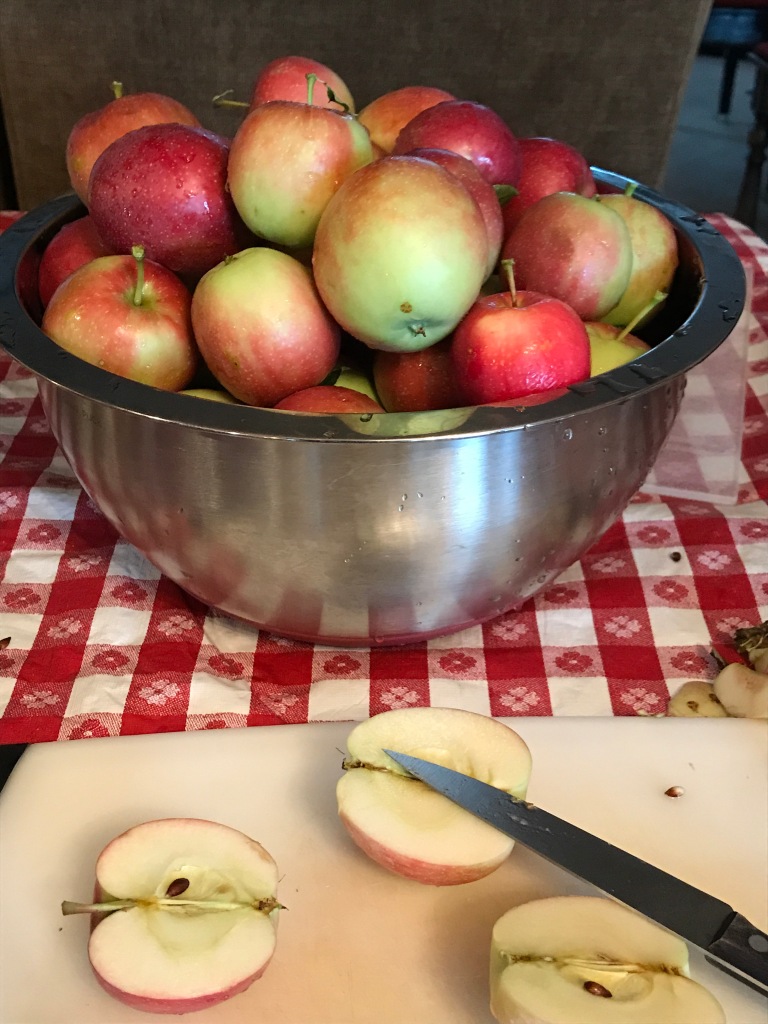
First we wash the apples. Gotta make em all shiny 😉 then we put on a good tv show and cut them all in half! Put them in a large pot with just a bit of water… to cover the bottom of the pan about 1/2 inch. And cook at a medium heat until soft and mushy.
Then let them cool a bit… you don’t want it too hot to burn or cause damage to the strainer. But you don’t want them cold either. They juice better this way. We use a small pan or large ladle and scoop the apples into the strainer, crank the handle, and out comes delicious applesauce! Okay well… it’s still a bit sour. But does taste good!

We then scoop that back into a pan, add some sugar to taste. Depends on the size of your pot, and the sweetness of your apples. (but 1-2 cups for medium big pots with sweeter apples usually.)

We then let that cook for a while, so the sugar dissolves, then we put them into jars. (Pro tip- if you want to put it in bottles right after it has been boiling, place your jars in a couple inches of boiling water. While filling them. This makes the jars warm and when you add hot sauce they won’t shatter.) We prefer Ball canning jars and lids. We do small mouth so we can save our wide mouth for peaches and pears.

Then we use a pressure cooker to cook the jars. You can do seven quarts or ten pints at a time. It’s quick, easy, and safely stores your food for years! 🙂


Apple Pie
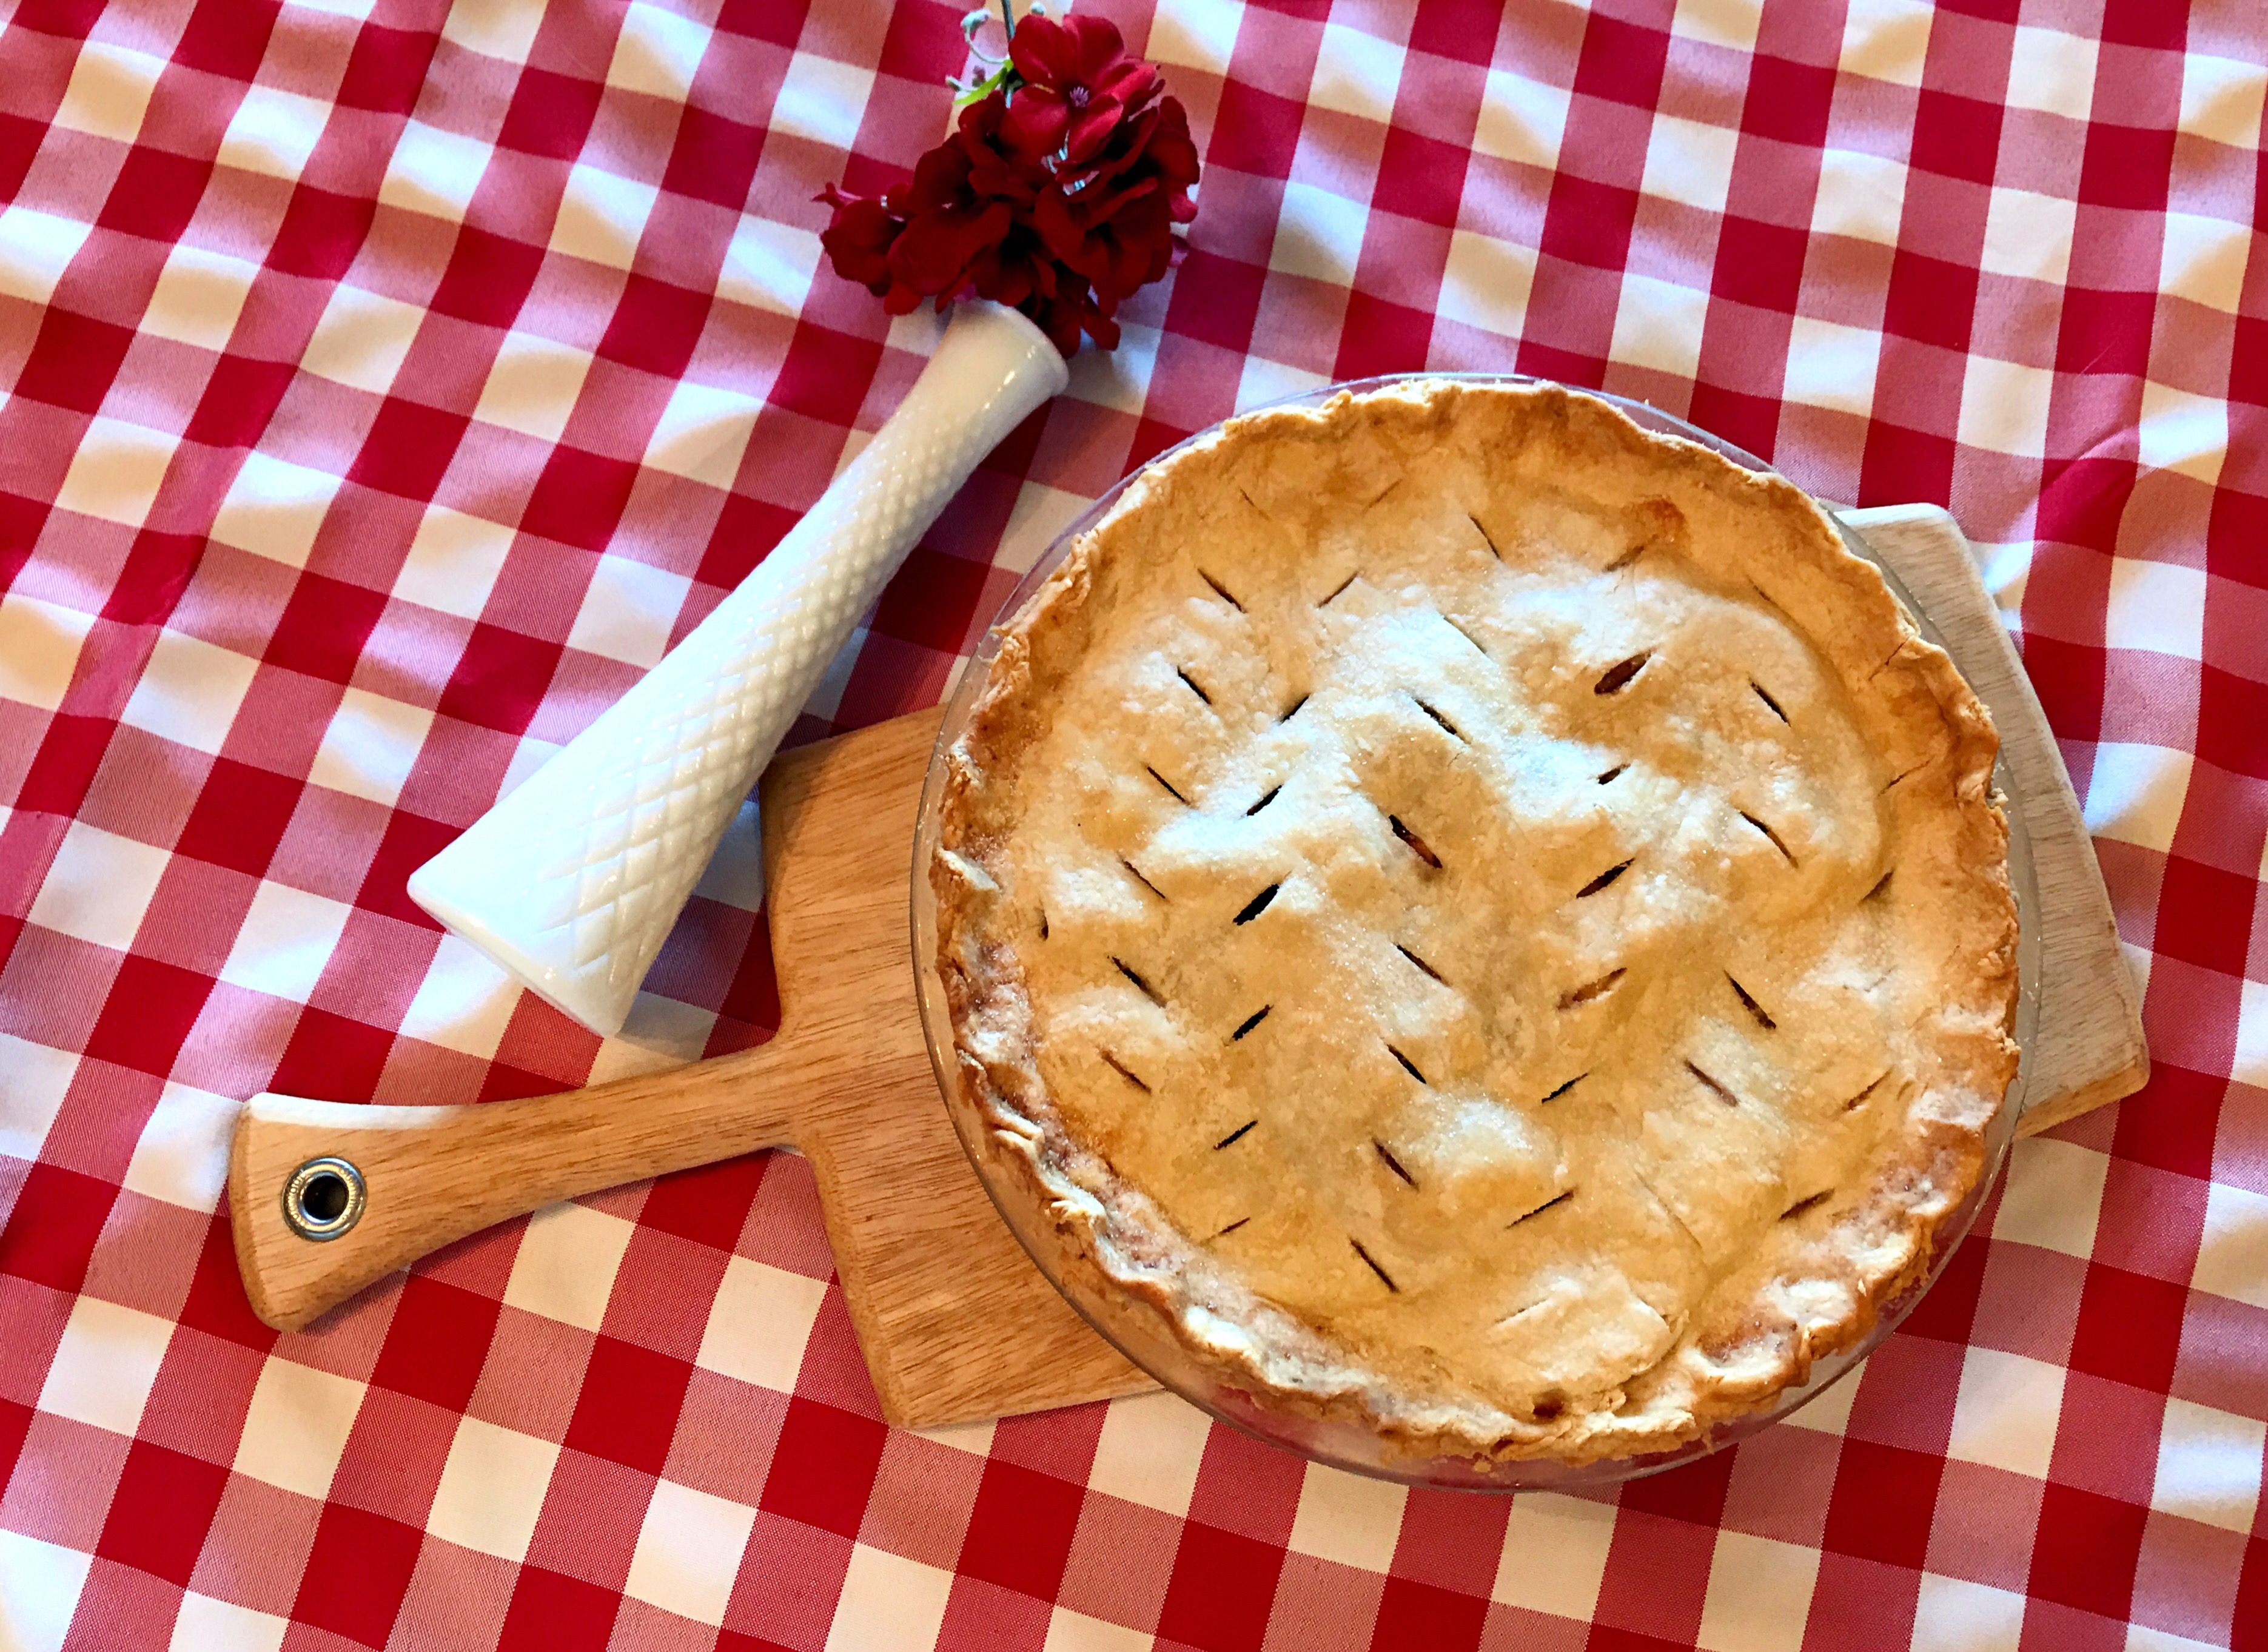
Now y’all want some pie huh? Well my mum is famous for her apple pie. She has a thin flakey crust, soft cinnamon apples, and smooth cool vanilla ice cream on the side. Pretty much to die for. So first off your pie crust. At our house it’s illegal to even think of buying a crust. No offense to all those lovely ladies that use them and love them. But they just aren’t homemade or thin enough for us.
Fill 9 inch pie shell with cut apple slices
Filler:
Sprinkle 1 Cup of Sugar over apples in our shell (1-1/4 Cup sugar if apples are less sweet), Reserve part of sugar to sprinkle over the flour.
Sprinkle 1/4 Cup Flour over apples
Put pats of butter on top of apple slices–about 3 tsp. in equal portions across top

Sprinkle 1 tsp of cinnamon.
Finish with reserved sugar, so flour and cinnamon are equally distributed

Pie Shell
2 Cup flour
1 tsp salt
1/2 Cup of good quality oil–Canola oil is my preference
Mix with a pastry blender or in a mixer with a whip

Ice water as needed to roll out dough– add to the flour mixture just until dough sticks together but is flakey.
Mix 1/2 of dough into a ball and place between two pieces of plastic wrap, and roll into a circle. Do not knead or over work. It will create a tough dough. Roll the dough as thin as you can and get it large enough to cover the pan and go over the edges a bit. Thin crust makes the best pie!


Put the first circle of pie dough into the bottom of a 9″ pie pan, allowing some dough to hang over the edge. Hint, remove top plastic wrap, lift with bottom plastic wrap, flip into the pie pan, center it and press it down then remove plastic. (If it cracks or breaks just repair by pressing down with your fingers or adding a bit of dough from the side.
Fill the bottom with apples and filling.

Roll out second ball of dough in the same manner.
Cut vent holes before placing the 2nd circle over top of the apples. (Remove top plastic and make design using a press, or knife.) Vent holes may be decorative–or there may be some patterns for apple pies, another for cherry and yet another for berry pies. This is the pattern of vent holes done by my grandmother and mother.
/ / / / /
\ \ \ \ \ \
/ / / / /

Easy, but effective and still beautiful.
After placing top shell on, seal the edges by pressing the two shells together. You can do any cool or simple design you wish.


Cut the extra edges off the pie.
For extra fancy sparkles sprinkle sugar on the top of the crust.

Tip- For a quick easy way to peel and slice an apple. This is an awesome and fairly cheap tool.


Cook for 15 minutes at 425 degrees. Then turn the temperature down and continue cooking for 60 minutes at 350. This helps get a crispy crust but not mushy apples. You can cover the edges with foil or use those pie pans that go under and around the edges too keep them from burning or going too brown. When juice bubbles (over) it is done😊
Enjoy hot with cold vanilla ice cream or cold for breakfast the next day!
Fresh Pressed Cider
Now this one is a bit more tricky… but if you do do apples on a large scale this might be just for you!
We purchased a cider press. Homemade wood press from Oregon.

First we wash all the apples and make sure there are no bad spots or anything. Then we take them out to the garage and put them through the first step.
The first step is a hopper that chops the apples into small chunks. It chops it into a barrel like thing, lined with a mesh bag.  <
<
nce that is full, slide it down, close the bag and put a top on the barrel. Then you spin the lever down which squeezes the juice out of the chunks. It then runs into a bucket. We then run it through a strainer just to catch any seeds or skins that fall out.


We go to a local dairy and buy new milk jugs. We fill each jug till just above the top curve. We then freeze it. No canning here! That cooks it and takes the “fresh” out of the picture.
 <
< <<<<<<<<
hare this because it’s a very cool process. I hope this helps you somehow! Enjoy!
 <<<<<<<
*This post does include affiliate links*

Leave a comment